Home-Built Synthesizer
This was such an in-depth project, definitely the most difficult thing I’ve done so far. It took several months to research, prototype, and build.
I started out wanting to better understand sound and music, and in exploring that concept I found I wanted to make sound and music, and that led me down the path of making a synthesizer.
Below I go over a crash course of the synthesizer, but no explanation beyond a book is going to cover it all, so I’m erring on the side of brevity and clarity even if lots of topics get missed or glazed over.
The sound wave screenshots below are taken from an oscilloscope. I wish I had more but I wasn’t focused on capturing examples while building it and now it’s all put away. Next time…
Technologies
Microcontroller
Shift registers (first time)
OpAmps (first time)
OptoCouplers (first time)
Digital to Analog Converter DAC (home-built) (first time)
Speaker (first time)
MIDI (first time)
Sound Synthesis (Oscillators, etc) (first time)
Music concepts (vibrato, tremolo, frequency, envelopes, etc) (first time)
Capacitive touch sensors (first time)
LCDs
Potentiometers, buttons, knobs, etc
Theoretical Background
What Sound is
We are able to hear because our ears are sensitive to changes in air pressure. If air pressure changes, we perceive that as sound.
When an object hits the floor, it makes a noise because it rattles around and causes ripples of air pressure.
Musical instruments are designed specifically to wobble around in a way that produces ripples of air pressure that we like to hear.
Synthesizers set out to make sound by first deciding what ripples it wants to generate, then shoving that signal into a speaker to make it happen.
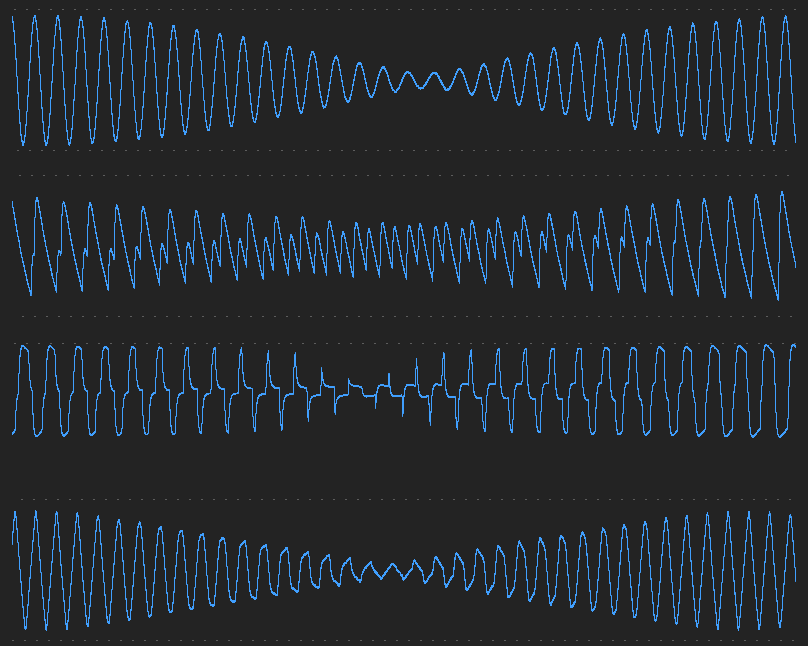
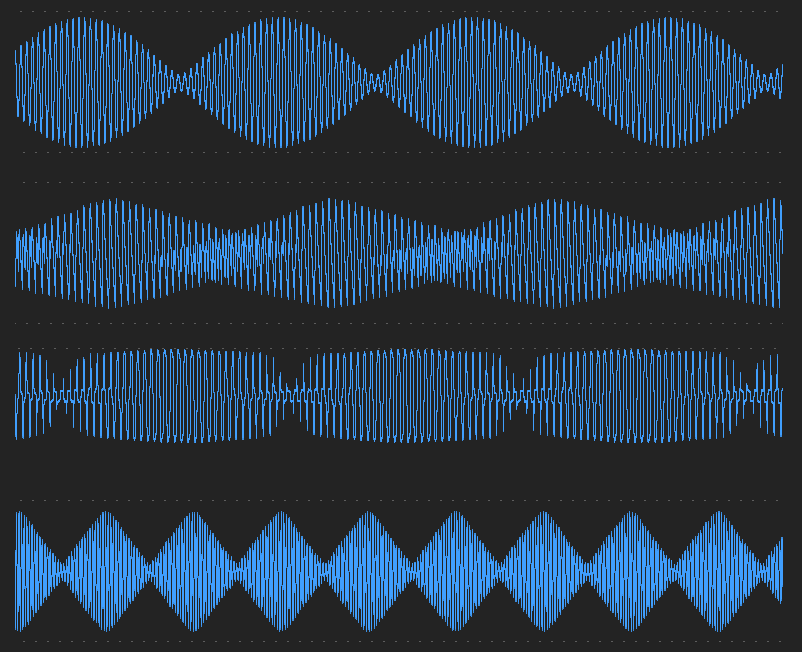
Sound Waves
When you see “sound waves” in an image, that is a graph of sound pressure over time.
For example, here is a Sine Wave, and its properties are:
- Frequency — how many peaks are there per-second
- Amplitude — how high do the peaks go
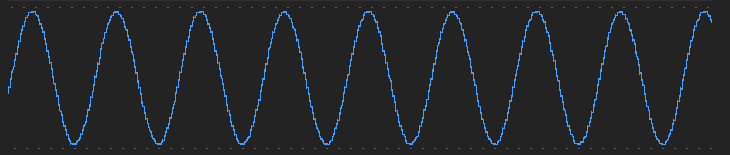
Increasing the Frequency makes it “higher frequency” or “high pitch.”
Increasing the Amplitude increases the loudness.
Combining Sound Waves
When you mix two sound waves together, by having them happen at the same time, you get more complex sound.
The pure Sine Wave above would sound pretty bad by itself, kind of a piercing electronic sound.
Musical instruments have a lot more character by design.
Musical instruments mix natural reverberations within the physical instrument together with the designed-in frequencies being produced to have a timbre (a quality of sound) that is pleasing.
Synthesizers aim to do more than generate “pure” tones and enrich the sound with other tones and distortions.
Tremolo Distortion
The gradual change in volume of a sound wave is tremolo.
Here you can see a regular Sine Wave being varied in its amplitude over time. You’ll hear singers do this, and musical instruments as well.


Vibrato Distortion
The gradual change in frequency over time.
I don’t have a screenshot!
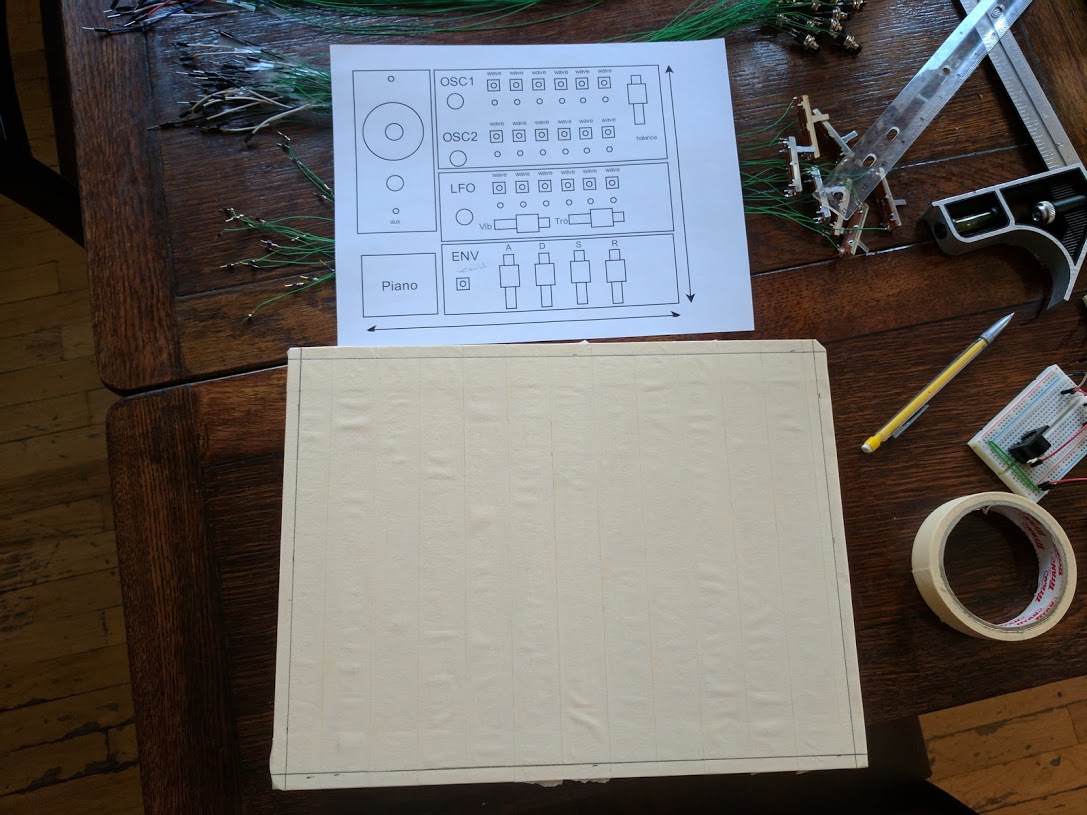
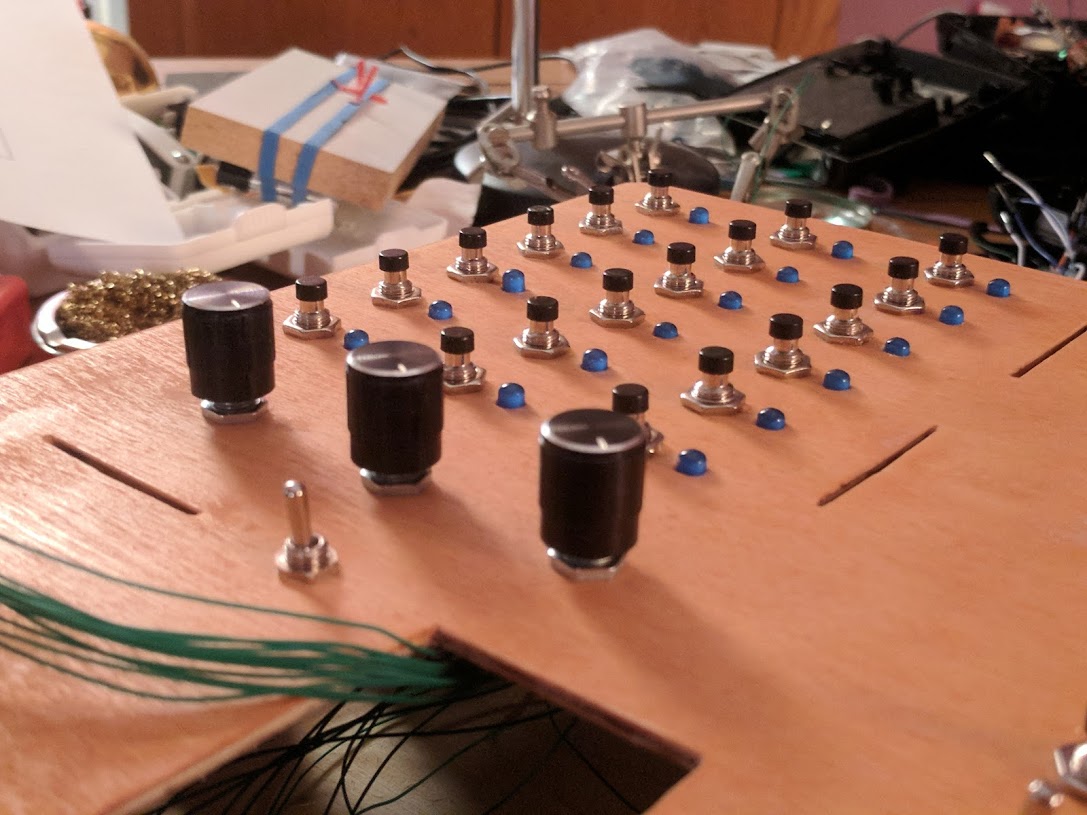
User Interface
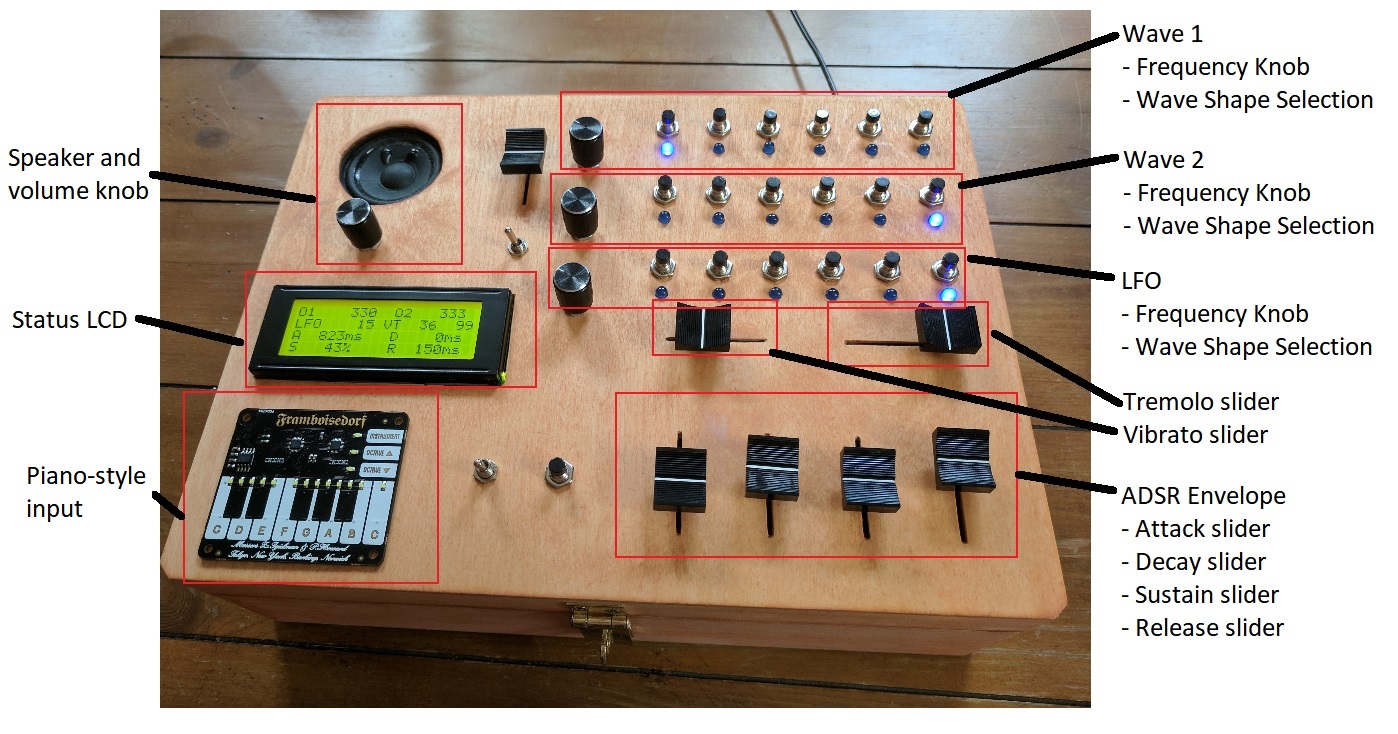
Modes of interaction
Two modes implemented:
- Real-time sound synthesis
- Keyboard mode (traditional musical synthesizer interaction)
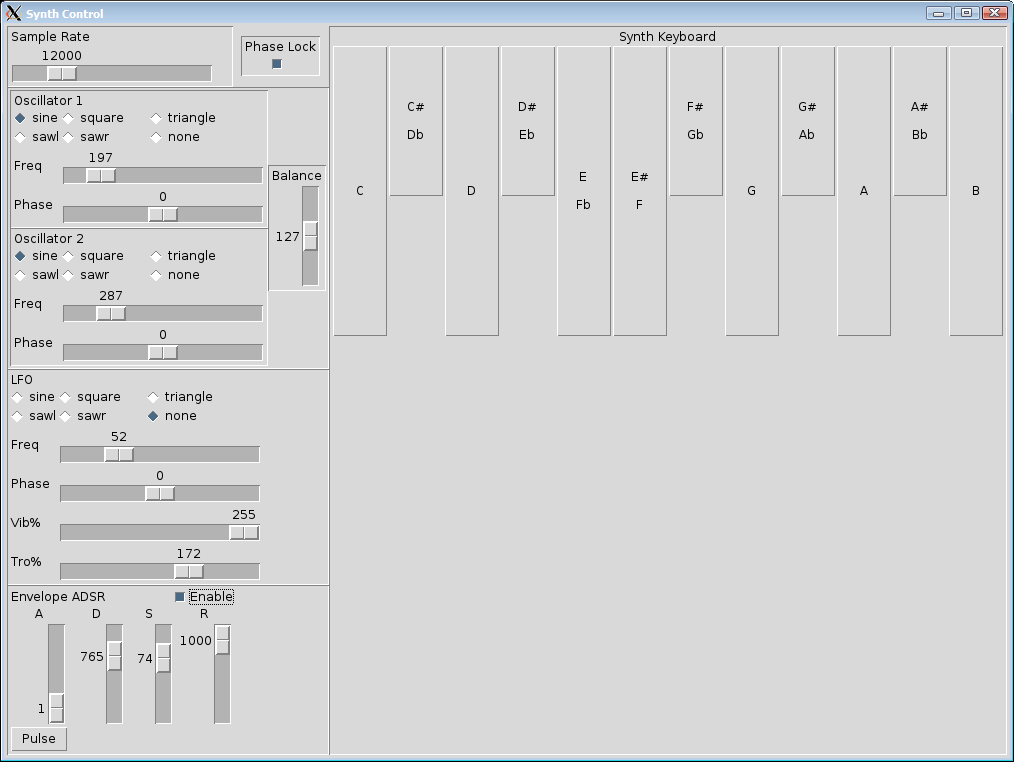
Real-Time Sound Synthesis
In a nutshell, the synthesizer allows a user to:
- Pick two sound wave shapes
- Choose their frequencies
- Mix them together
- Apply Tremolo and Vibrato to them
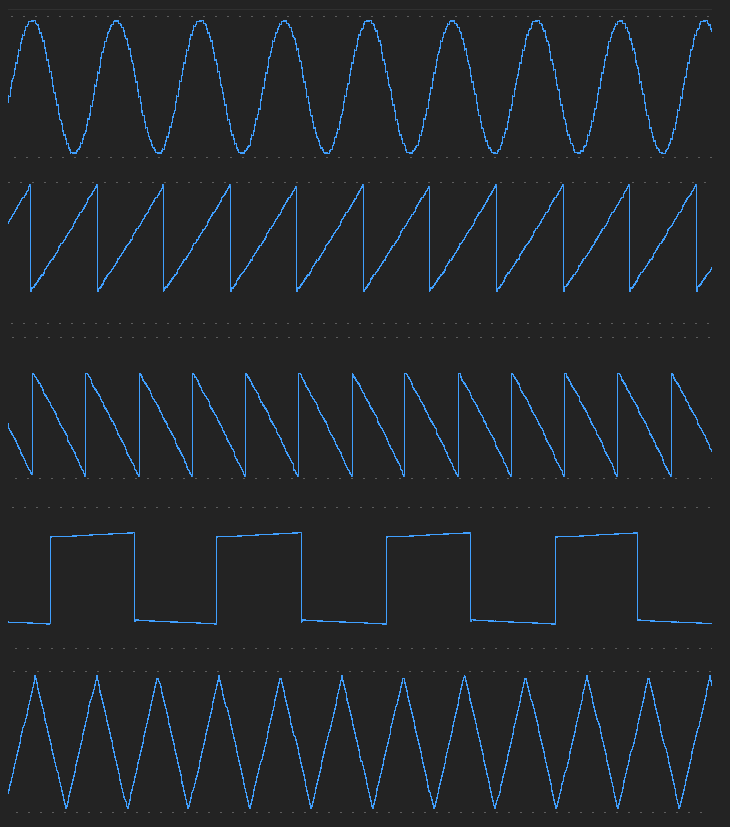
Here are the 5 sound wave shapes you can choose from:
- Sine Wave
- Sawtooth Right Wave
- Sawtooth Left Wave
- Square Wave
- Triangle Wave
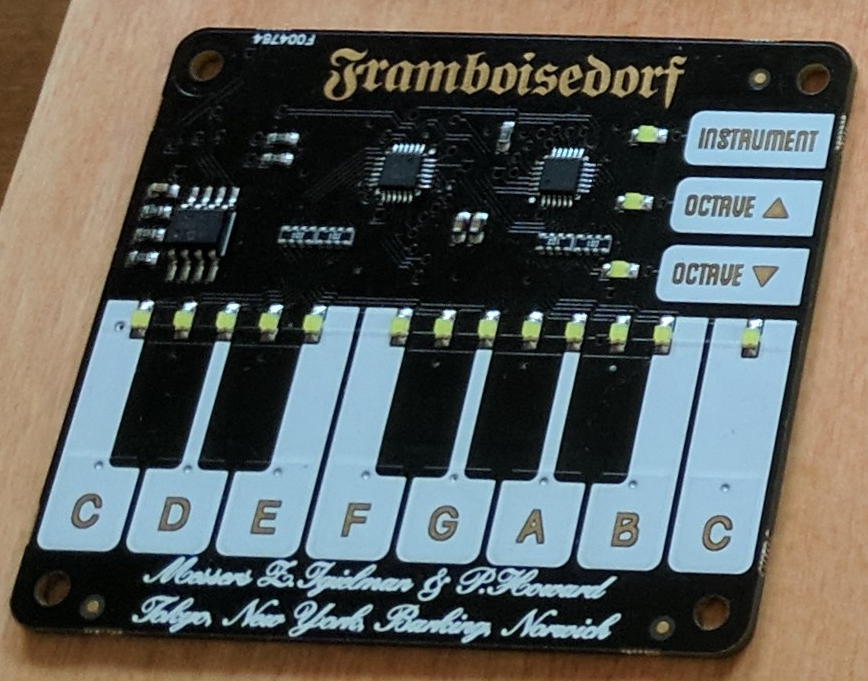
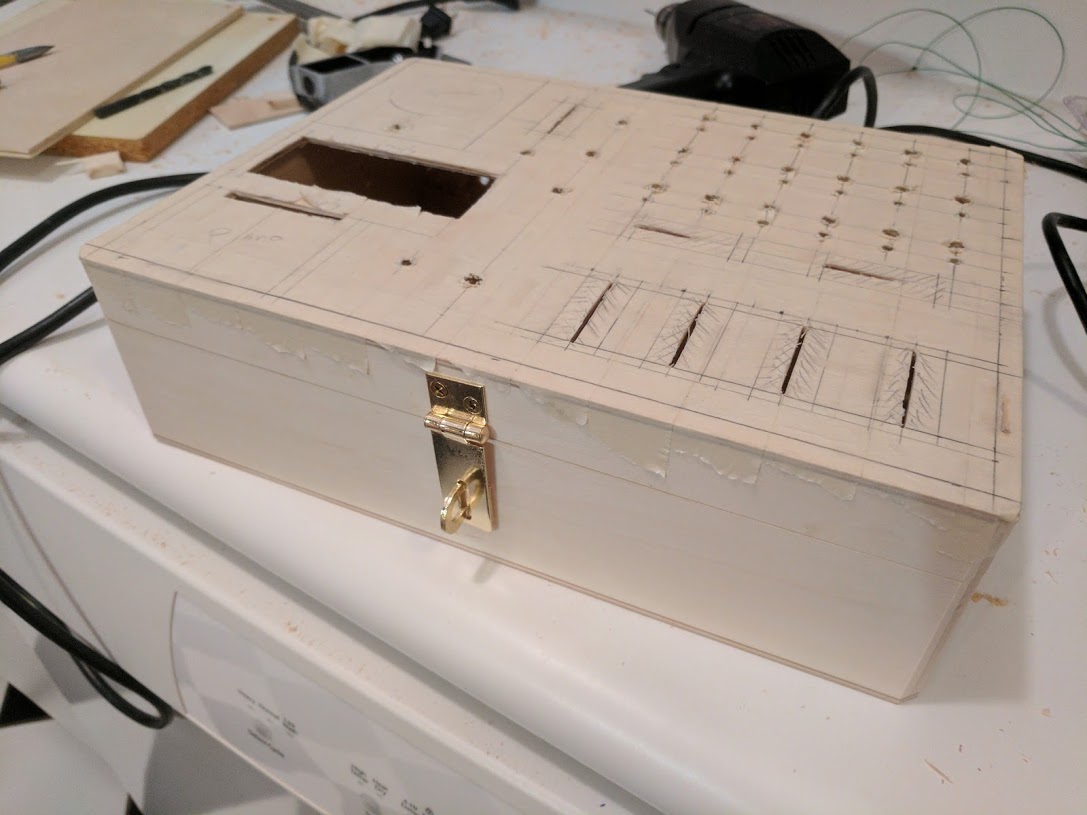
Keyboard Mode
You to interact with a piano-looking interface.
When a key press is detected, the frequency of that note is synthesized while using the selected waveforms from the buttons. Allows users to change the sound of key presses.
It is also in this mode that the ADSR Envelope takes effect, giving a bit more of a “regular synthesizer” feel.
Changing octaves works, as internally the software knows the frequency relationship between one octave and another and accounts for that.
Instrument key also switches between a number of pre-selected combinations of waveforms.
Other Synthesizer Features
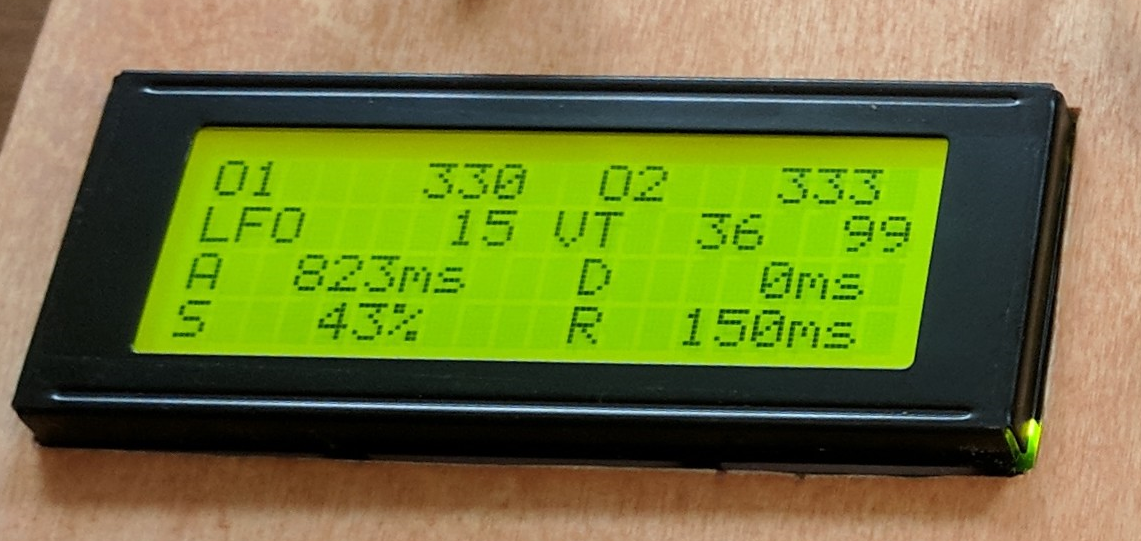
Display
The LCD tells you the current state.
This is updated whenever you choose a waveform, move a slider, or press a keyboard key.
Analyzing the image below:
- 01 – Wave 1 at 330Hz
- 02 – Wave 2 at 333Hz
- LFO – Low-Frequency Oscillator at 15Hz
- VT – Vibrato / Tremolo at 36% and 99% intensity respectively
- A – Attack time at 823ms
- D – Decay time at 0ms
- S – Sustain intensity at 43%
- R – Release time at 150ms
MIDI
It’s got MIDI input and output ports.
And an output audio jack.
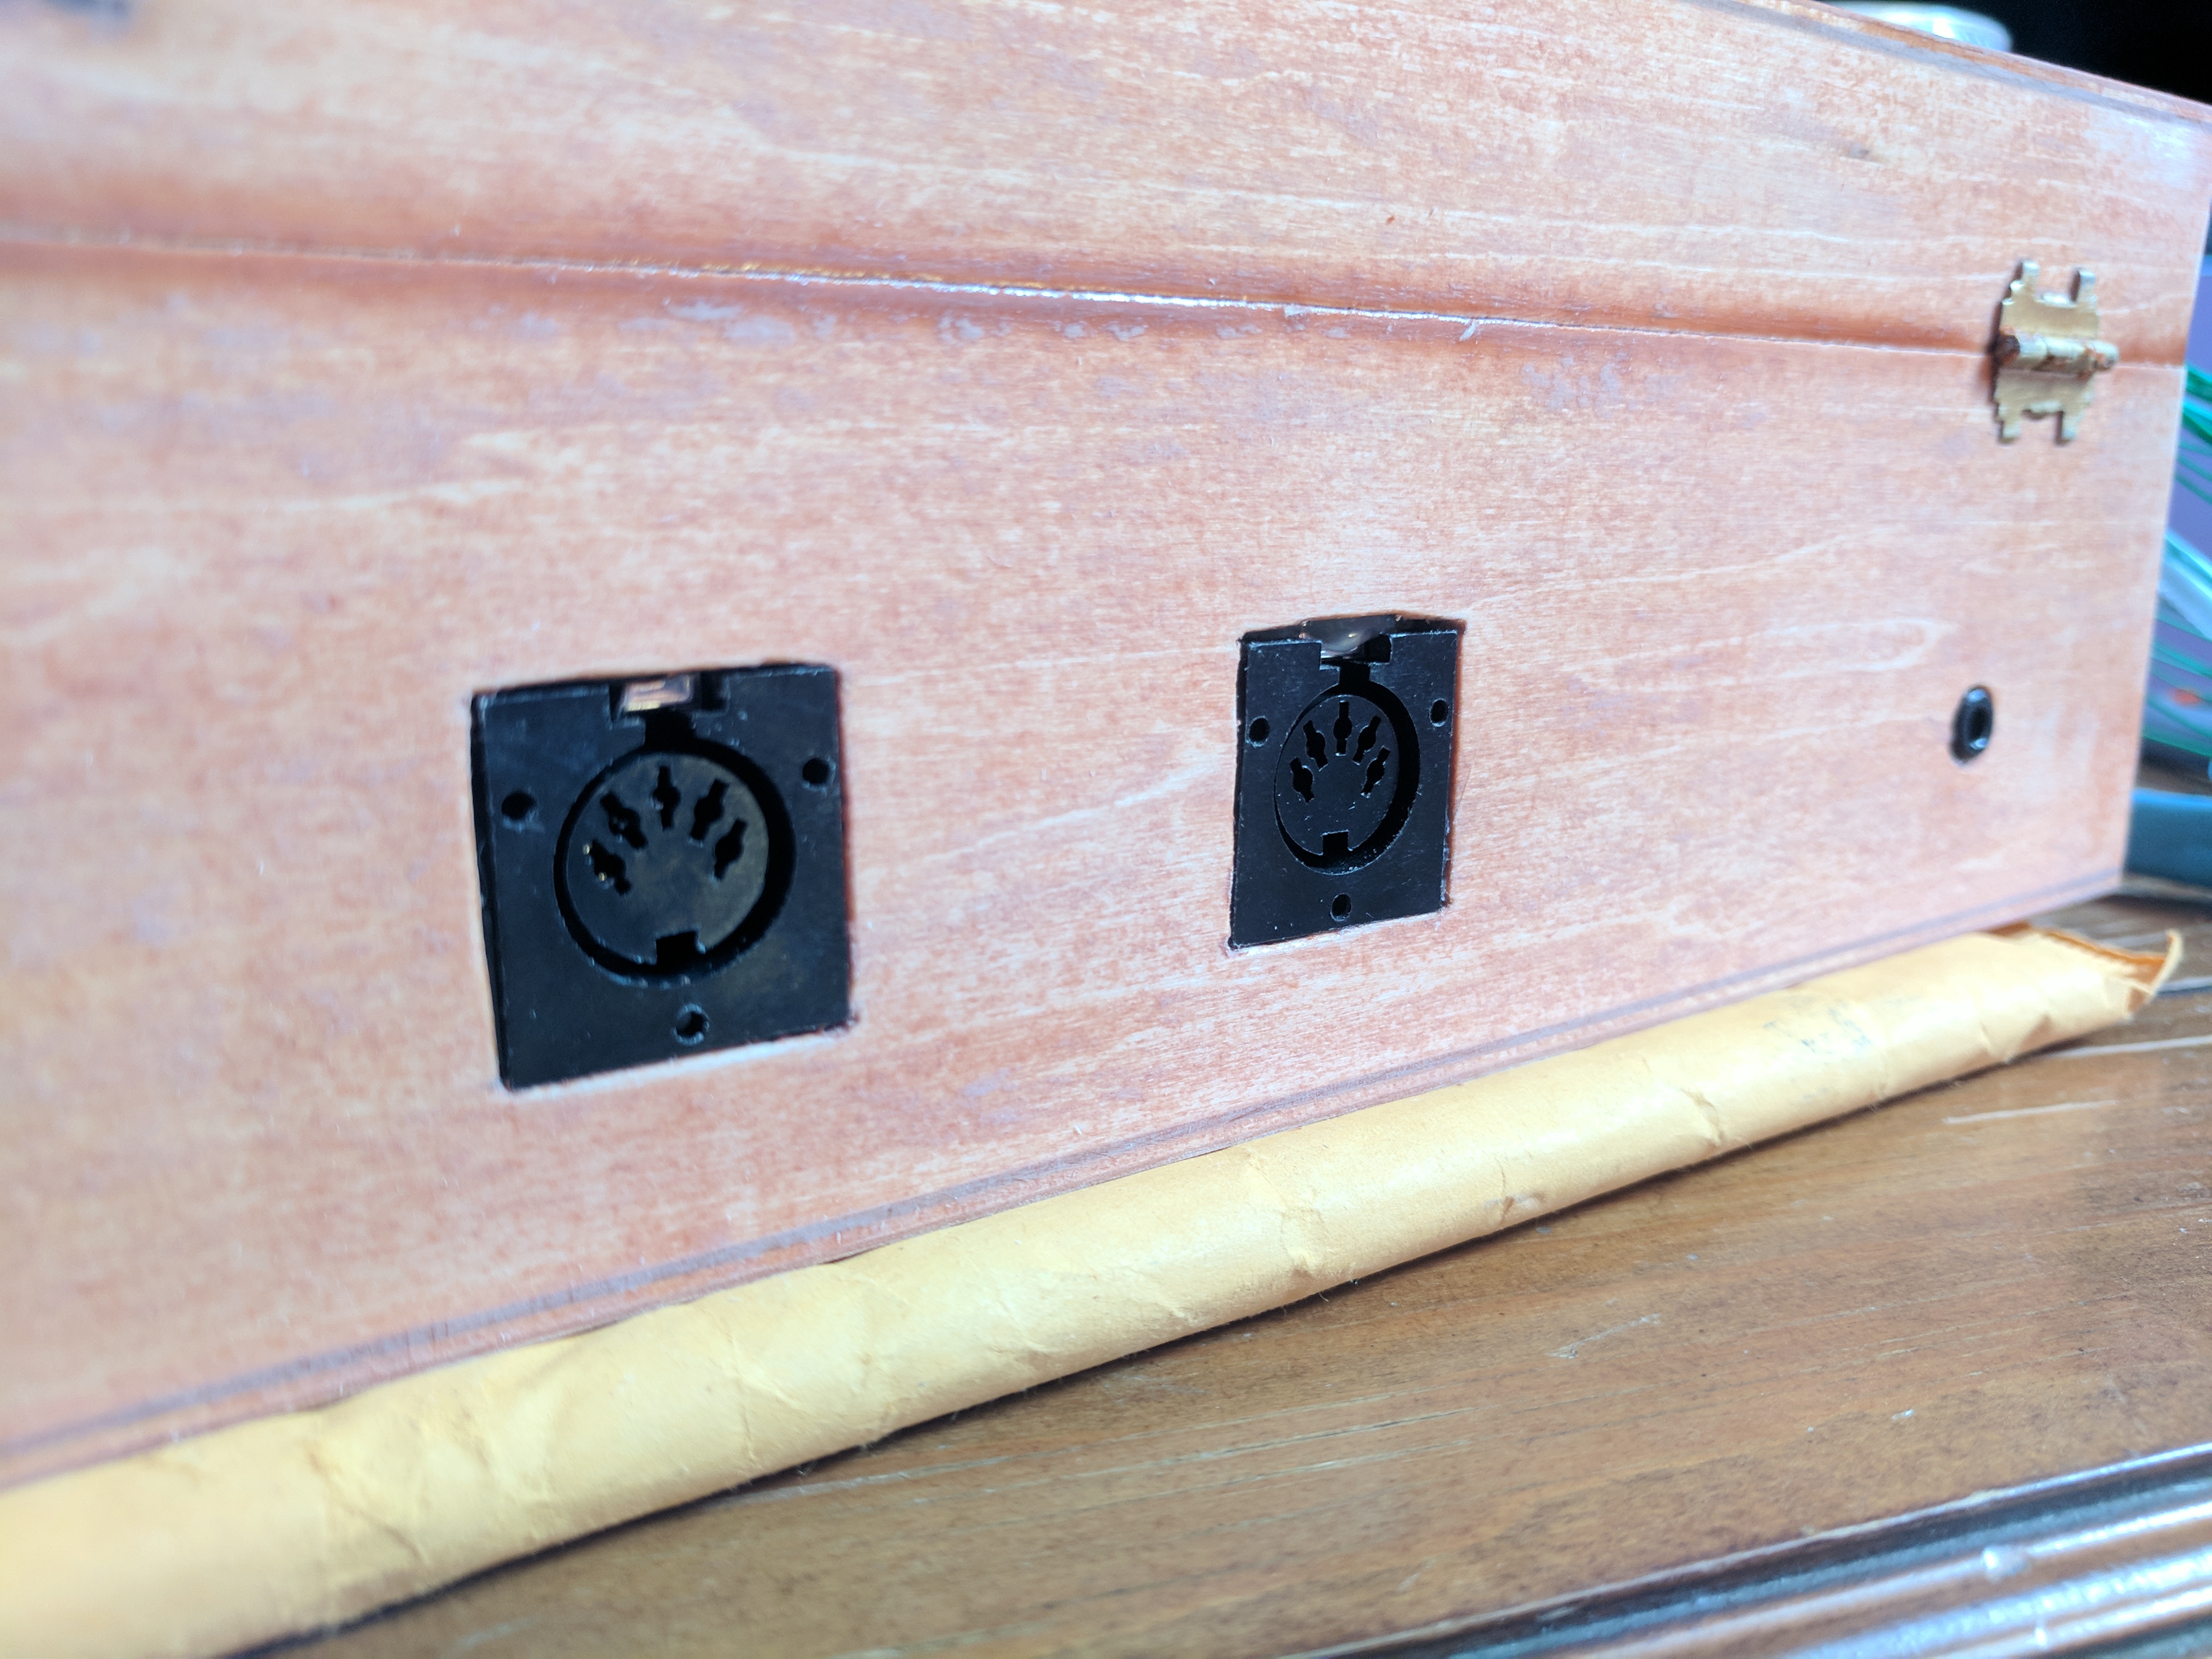
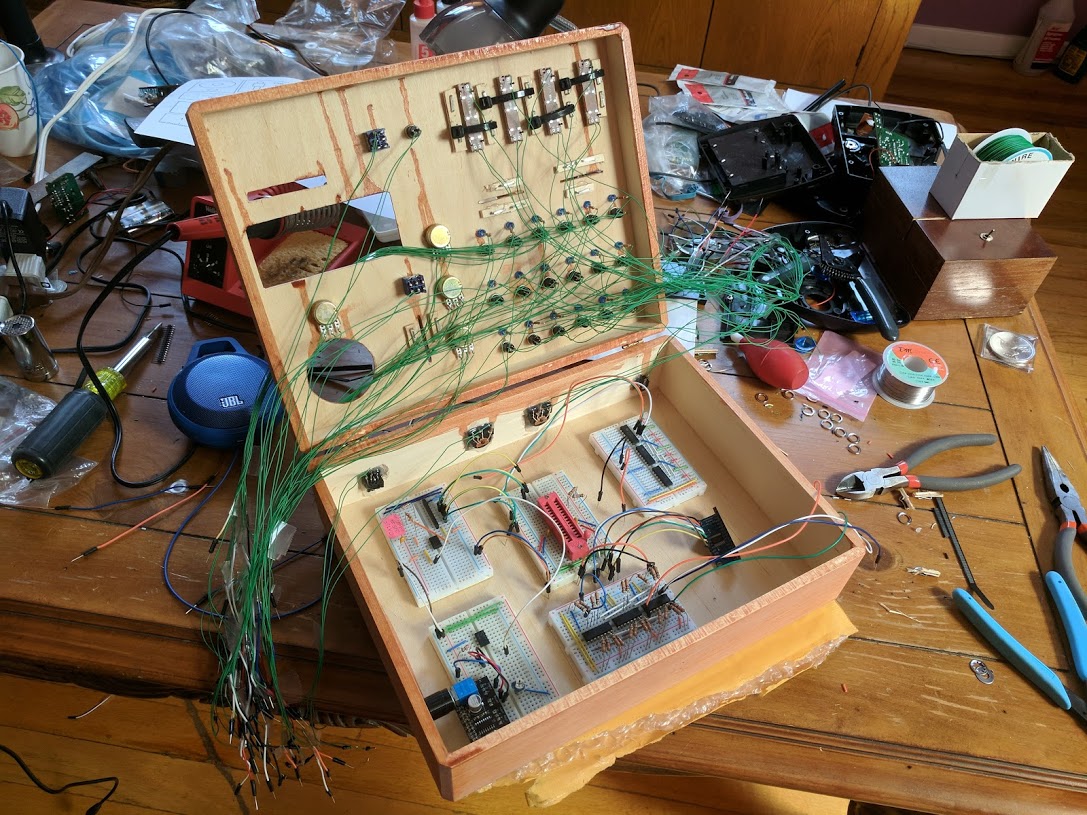
Internally, there are basically two major areas:
- Stuff that handles human interaction and deciding what sound to play
- Sound synthesis
The two parts communicate via MIDI, in software. As in, actual serial MIDI messages.
The MIDI jacks in the back allow you to listen to or inject MIDI into each half.
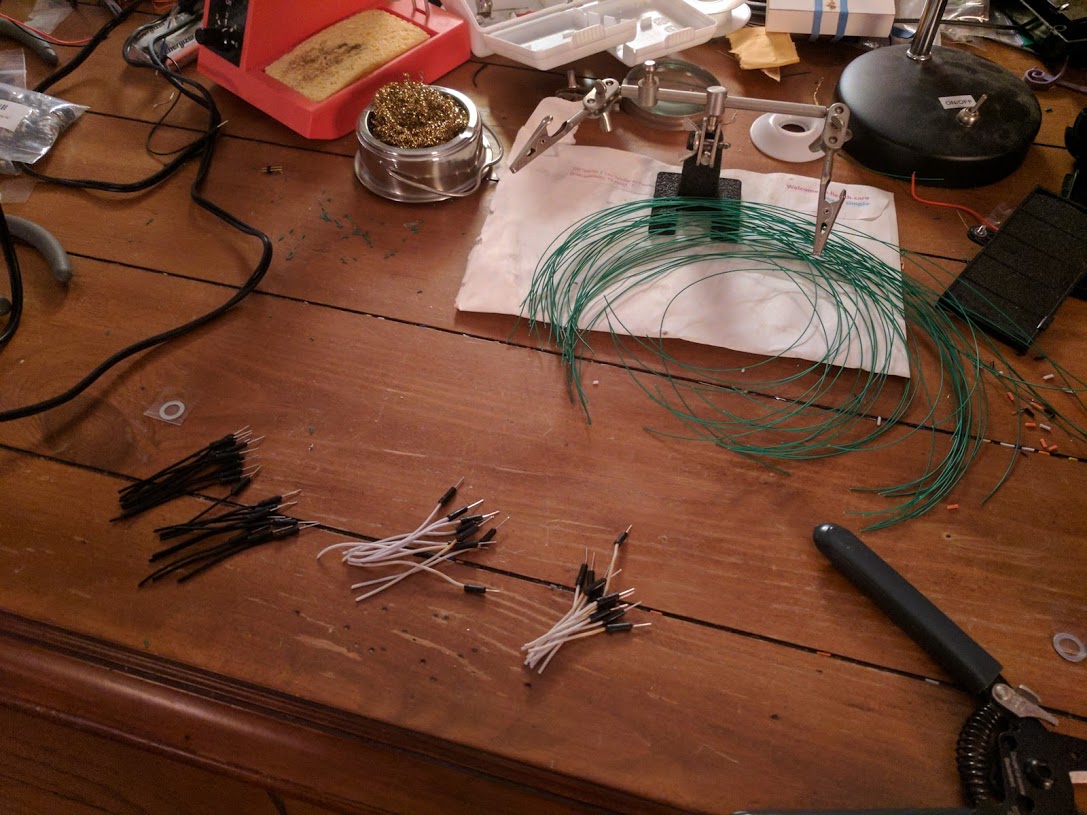
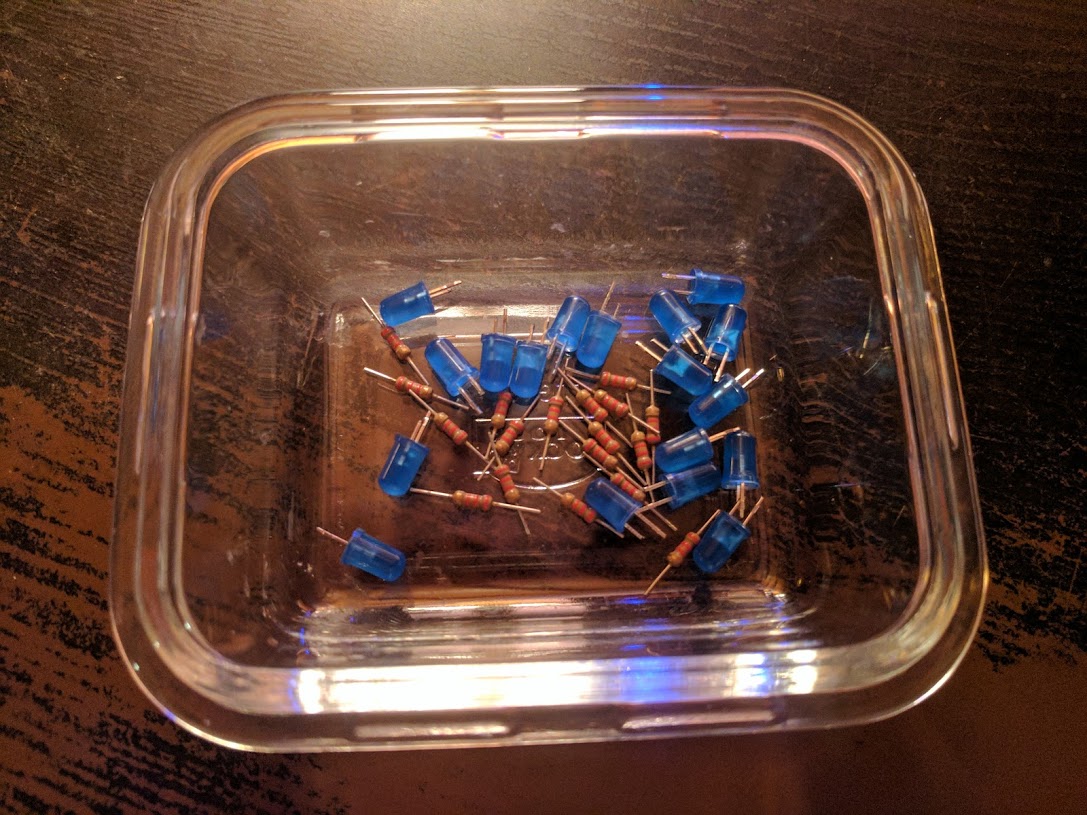
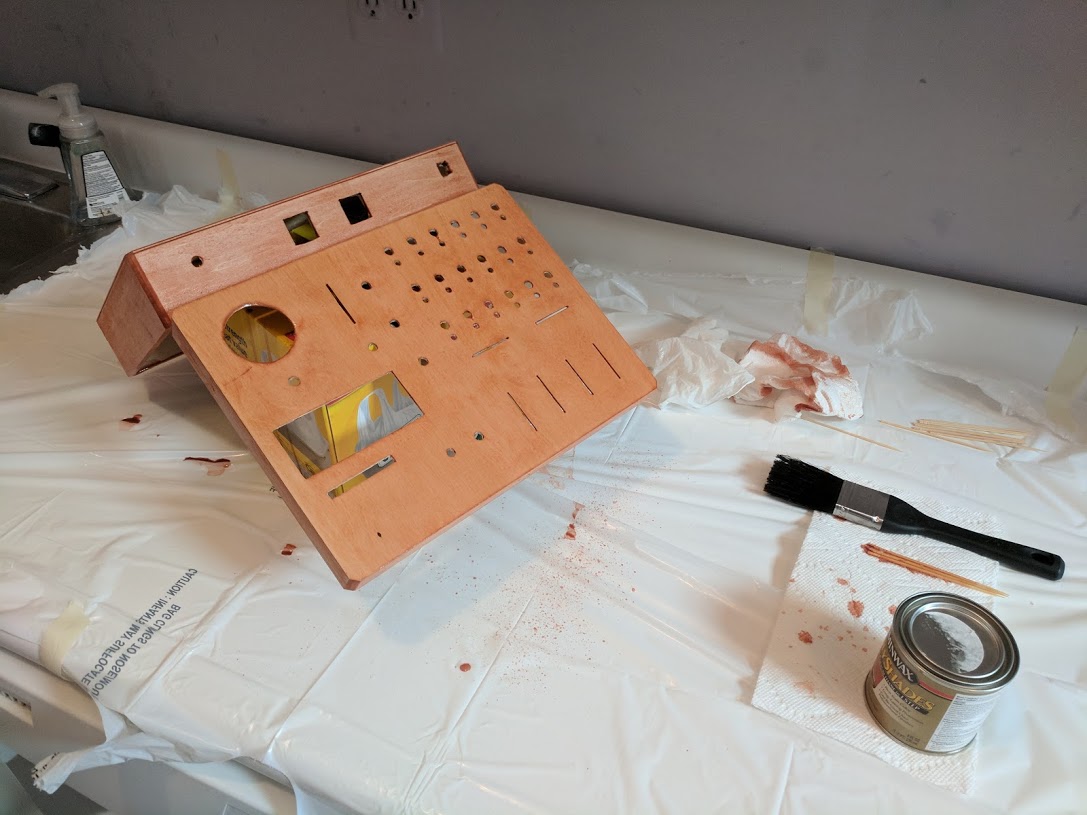
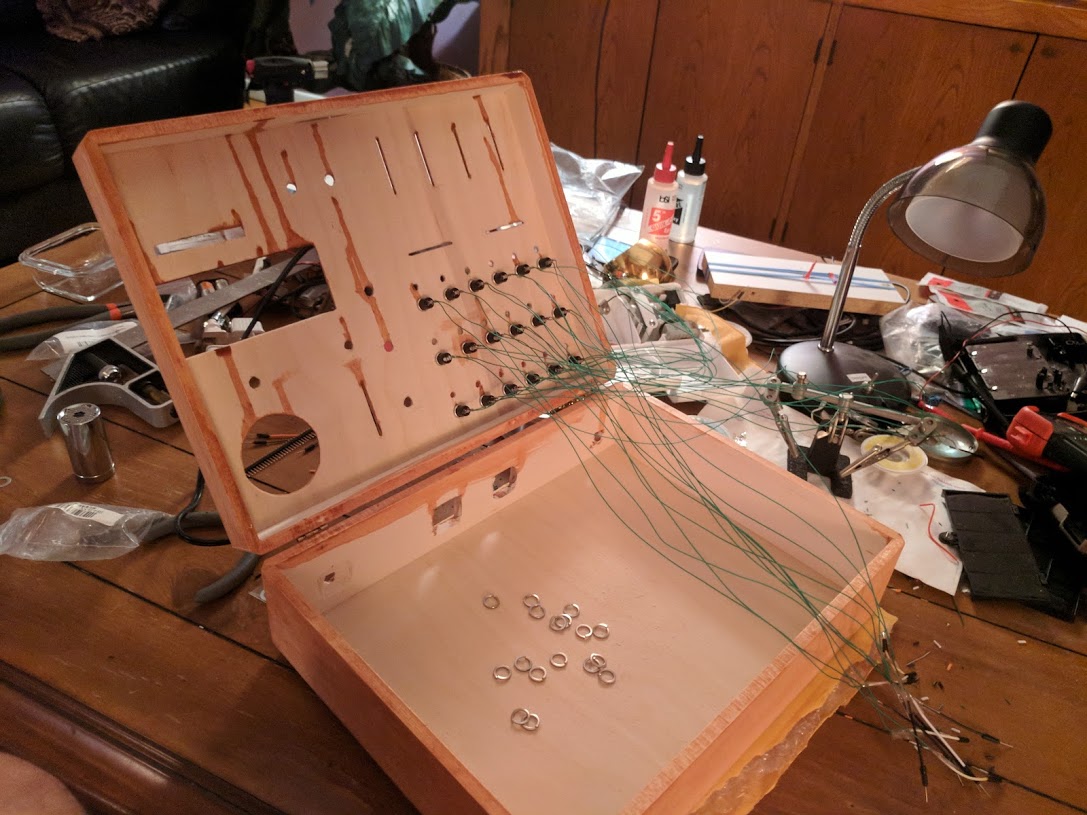
Research and Build
Software Difficulties
The primary difficulties were due to limitations of the Atmega328:
- 8MHz clock
- 2KB RAM
Ultimately able to synthesize at 12KHz which actually sounds pretty good.
The most performance-critical aspects of processing were related to:
- Wave generation – using pre-calculated waveform table lookups (eg SIN)
- Frequency iteration — Had to use fixed-point math libs (self-made)
Software Prototyping
Built a TK implementation of the interface I wanted to test the software before trying any build.
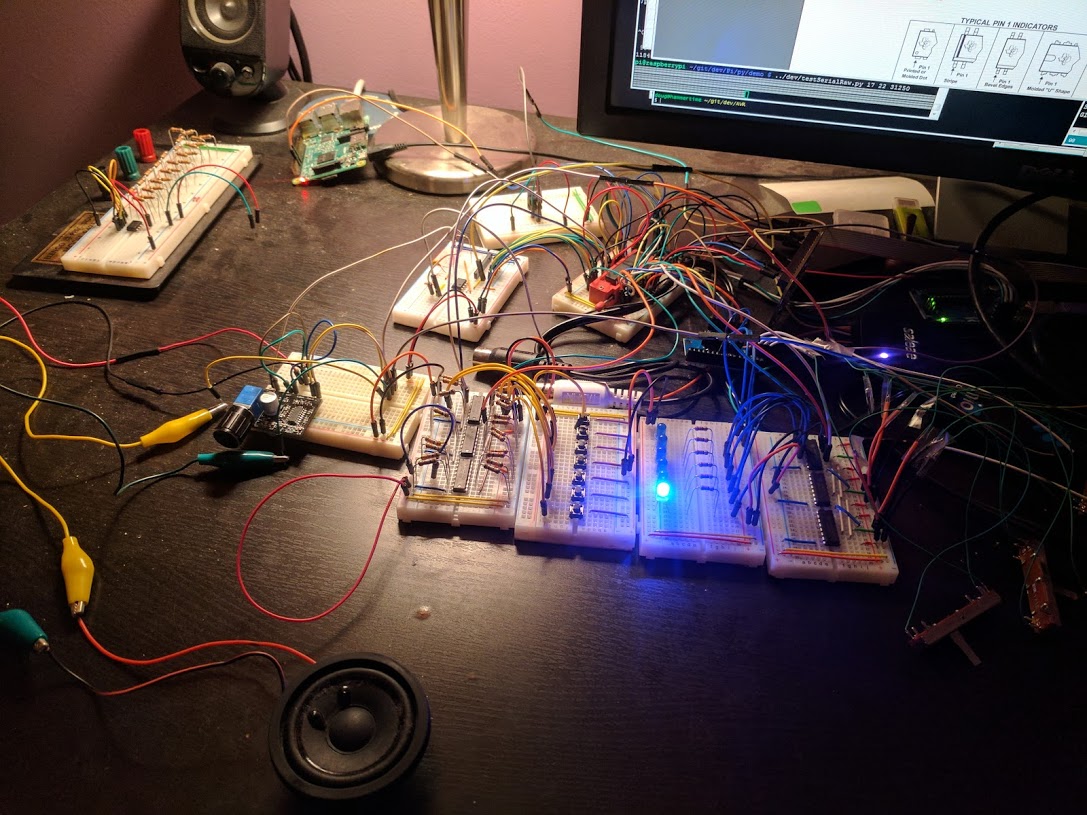
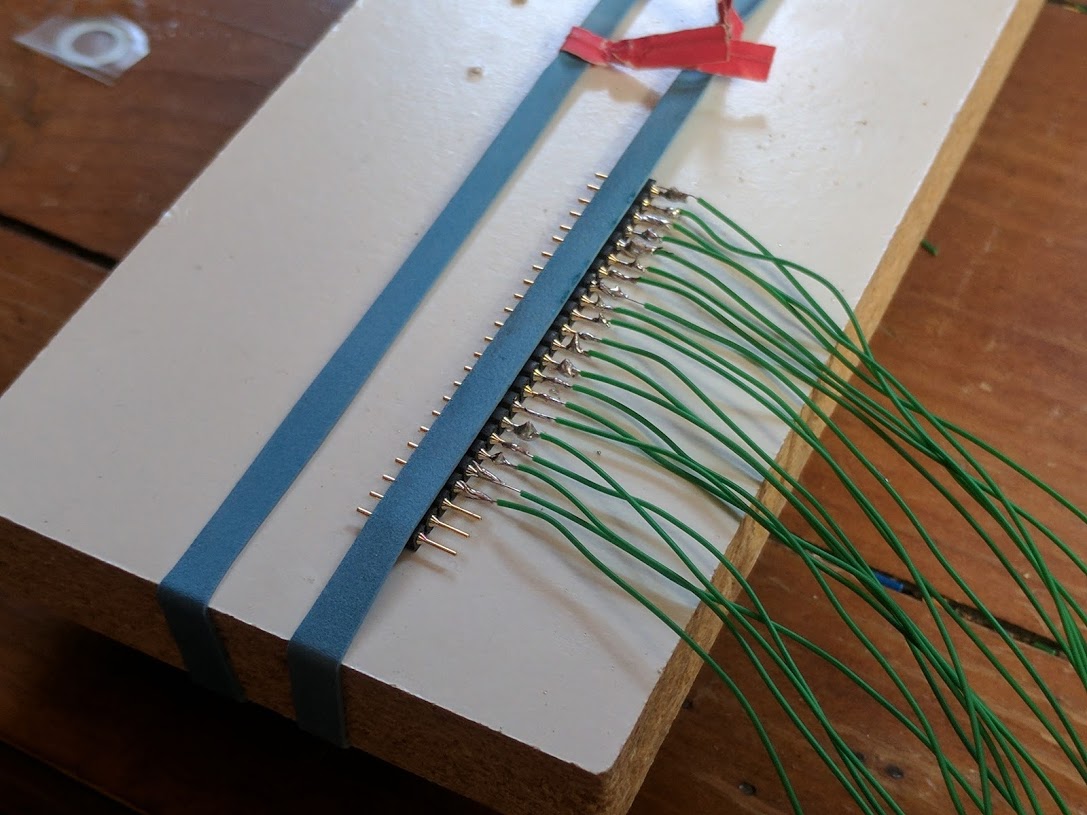
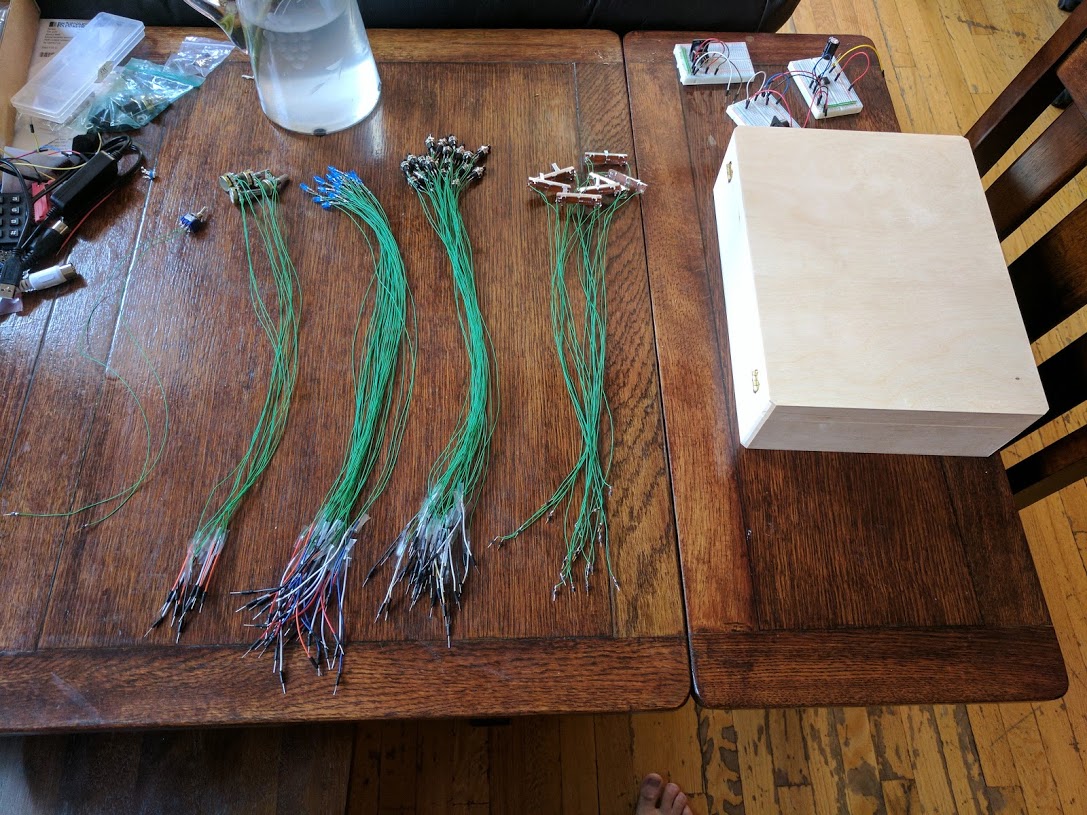
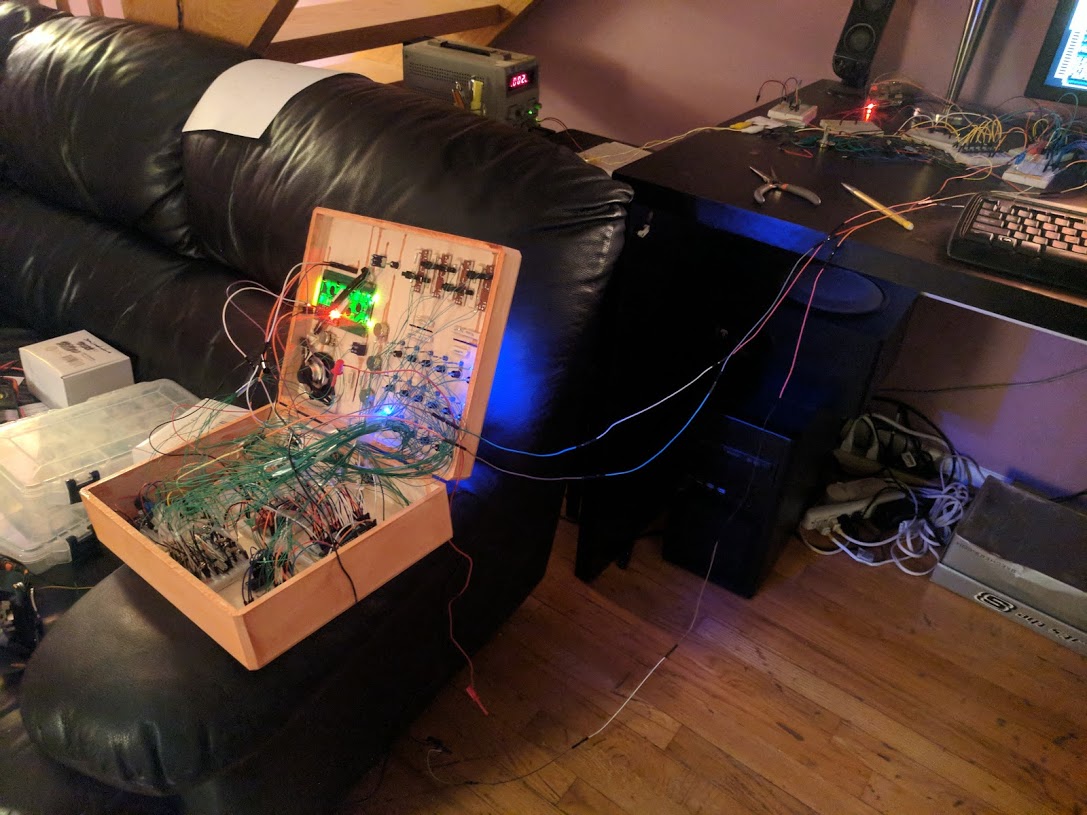
Hardware Prototype
Got pretty ugly
Some Pretty Waveform Pictures
Github
Main file here (link)
Supporting libraries under here (link)
Build Photos and Demo Video

Full Gallery